
Dimplex Quantum heaters draw energy during cheaper, off-peak periods, offering users controllable heat on demand. This step-by-step guide will take you through a typical installation.

Millions of people in electrically heated homes still rely on outdated storage heaters, which offer little control and can be inefficient, leading to unnecessarily high heating bills.
Manufacturers have worked hard to develop modern appliances like the Dimplex Quantum off-peak heating system, which can help reduce bills for homeowners, private tenants and those living in social housing, whilst also supporting the Government’s drive towards lower carbon electricity and smart grid compatibility.
Dimplex Quantum heaters draw energy during cheaper, off-peak periods and offer controllable heat on demand, with an intelligent controller which monitors the user’s heating habits and provides easy operation at the touch of a button.
Dimplex estimates that there are nearly two million homes in the UK with outdated storage heaters in need of replacement, and an independent assessment of the Quantum system using SAP2012 shows that Dimplex Quantum heaters can cut annual heating costs by up £418 to when compared to a system of traditional storage heating and panel convector heaters.
Here, we guide you through the simple installation of a Dimplex Quantum off-peak heater.
Step-by-step
Installation tools required: cross head magnetic screwdriver, drill, wiring /clipping pliers, measuring tape and spirit level.
1. Heater location
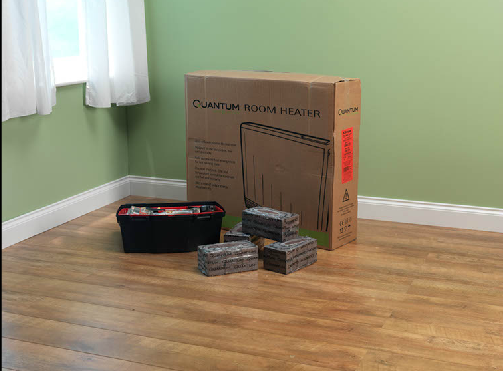
For safety reasons, ensure there are no obstructions in the allocated area and the Quantum heater can be fitted within the correct dimensions and clearances. Check that there is a safe distance to other objects – e.g. curtains, sofa. Do not place objects within 300mm of the front of the heater and 150mm (minimum 75mm) of either side and the top.
2. Wall fixing
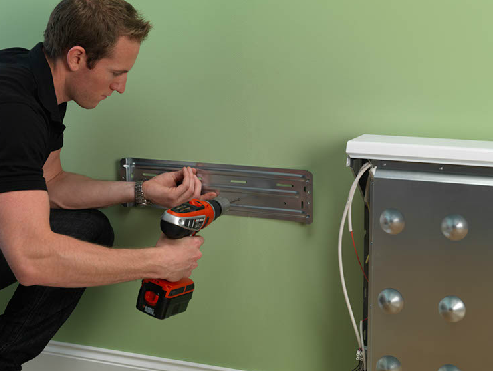
Remove the heater from the packaging and place against the wall before unscrewing the grille, both side and the front panel. Remove the mounting bracket and use a pencil to mark the bracket screw hole positions through the heater onto the wall. Fix the bracket and offer the heater to the bracket before replacing the four screws, but do not fully tighten.
3. Electrical connection
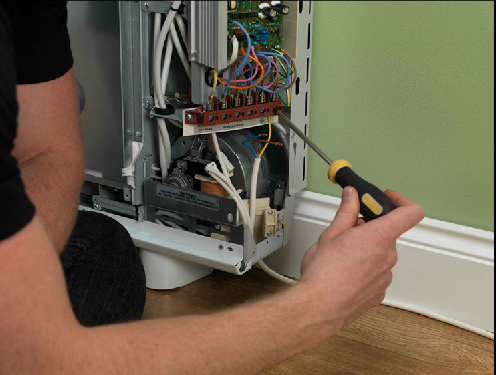
Feed the electrical supplies into the product and through the clamp. Make the peak and off-peak electrical connections. Unscrew the three sides of the front core cover and remove.
4. Building the core
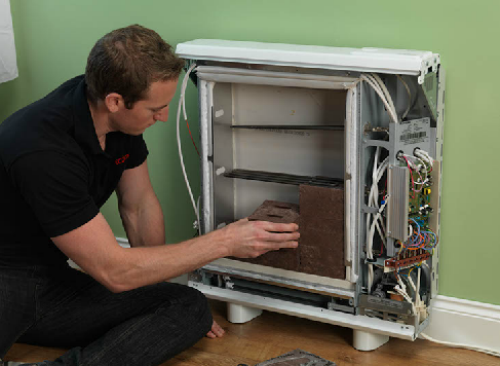
Remove the cardboard piece and remove the cells from their packaging. Place the energy cells into the heater, sandwiching the elements. Now fully tighten the wall bracket to allow for settling.
5. Finishing the install
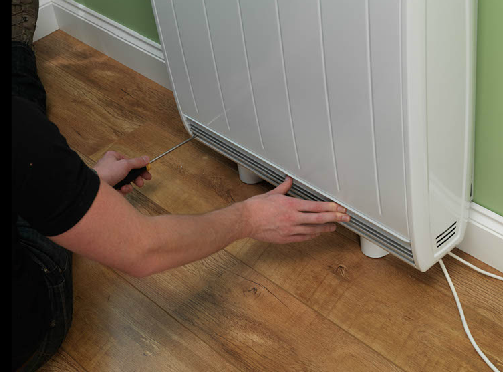
Screw back on the inner core, front and side panels, and then the grille. Make the final electrical connections and complete the necessary safety tests.
6. Controller programming
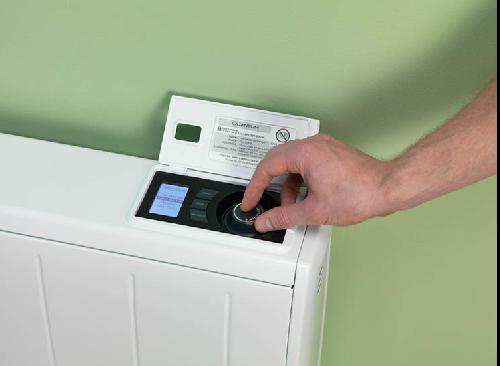
The product is now installed and all that’s left is to set up the controls, which are designed for easy operation. Use the ‘Quick Start Guide’ included to set the date, time and heating profile for the customer.
